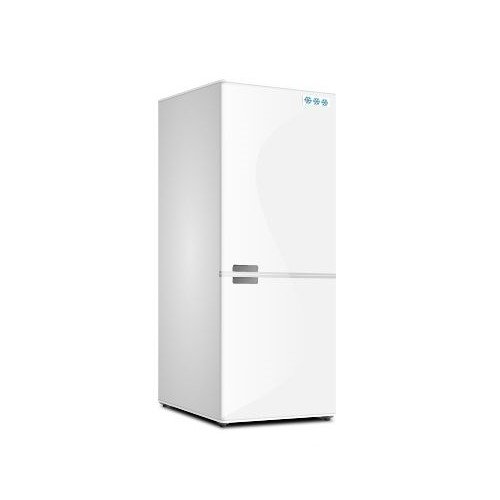
How Can I Prepare A Fridge Freezer For Removal?
Whether your fridge freezer is broken or you are looking to replace it, you will need to get rid of your old one eventually. However, these household appliances, unlike many others, do require a bit of preparation prior to removal, from defrosting them to even cleaning them if necessary.
Fortunately, our white goods removal team has compiled a guide on how to prepare a fridge freezer for removal, to make getting rid of your freezer that little bit more simple.
Steps to prepare a fridge freezer for removal
Once you have booked a removal service, you need to follow the following steps to ensure that your fridge freezer is ready to go at the point of collection:
1. Begin to prepare in advance of your removal
Depending on the size, make, and model of your fridge freezer, it may vary in how long it takes to defrost and prepare for removal. This means that in order for it to be ready to collect at the time arranged, you should start the defrosting and airing process as early as possible.
You can usually find the estimated defrosting time on the manufacturer’s instructions which came with your fridge freezer. If you don’t know where the instructions are, searching for the make and model online instead.
2. Empty the freezer’s contents
Next, clear out your fridge freezer by removing all of the food and packaging inside of it. Once you have taken the food out of your old freezer, you should return it to a freezer with a similar temperature immediately to ensure that it stays fresh.
If you are waiting for a replacement freezer and have nowhere to put it in the meantime, it is worth investing in some freezer bags to keep it cool in the meantime, or borrowing space in your neighbour or friend’s freezer to prevent the food from going off.
3. Unplug the freezer in line with manufacturer instructions
Once emptied, it is time to unplug your freezer to defrost it, in line with the instructions provided by the appliance’s manufacturer. Once you have unplugged it from the power and opened all doors and drawers, the ice will begin to melt. Before it does, you should place towels and old rags around the floor or front of your freezer to catch and absorb any moisture. Some fridge freezers may also have a drainage hose, which you can lead down into a bucket or basin.
To ensure that it defrosts and dries completely and as quickly as possible, you should remove all of the shelves and drawers within the freezer and allow these to defrost separately.
4. Dry and air the freezer after it has defrosted fully
Once it has defrosted, you need to keep the door and drawers open until the freezer has fully aired and dried. This not only prevents a bad odour from occurring, but it also prevents the build-up of mould and grime, too. What’s more, ensuring that your fridge freezer is fully dried and aired prior to removal will prevent any leakages when being transported and removed.
5. Consider whether it needs cleaning
If you are passing the fridge freezer onto someone else or you have sold it, you may need to give the fridge freezer a thorough clean. The best way to do this is using warm water and washing up liquid, or a mixture of baking soda and warm water.
You can use a rag to do the initial cleaning and then a cloth to dry the remaining moisture. Often you might find that there is a build-up of grime or dirt in the edges, or within drawers from spilt food, so it is important to conduct a deep clean of the freezer before giving it to someone else. Cleaning it will also prevent it from smelling, or help to get rid of any pesky odours.
Luckily, if your fridge freezer is being collected by a waste removal company or the council, you won’t need to go through this strenuous step.
6. Keep it upright at all times
When storing your freezer in preparation for collection or removal, you should keep it upright at all times. This is because you should always avoid laying your fridge freezer down as once your freezer is placed on its back or side, the oil contained within it will flow into cooling tubes and may not drain, which can result in even further disrepair.
If you are selling it or transporting it yourself, you may need to ensure that it is fully secure, either by bubble wrapping the different shelves and drawers to prevent cracking or taping it together safely. You will also need to ensure that all of the components of the freezer that are exposed are protected from harm.
7. Wait for collection
Now all you have to do is sit back and relax whilst you wait for your freezer to be collected by a buyer, the council or a professional waste management company, ensuring that your white goods are recycled and disposed of in line with white goods disposal regulations, giving you peace of mind.
If you are London-based, we offer a specialist white goods removal service, with rapid response times and affordable prices for all of our customers – both domestic and commercial.
To find out more about our furniture disposal services, get in touch with our friendly team today who can discuss dates and quotes.

